Bread has always been a very basic food, dating back to Creation.
Dough has evolved tremendously over the centuries, and even more so in the last two decades. We now have so many diverse breads made with a variety of unique grains and methods. With an overwhelming amount of restrictive dietary needs, our basic breads need to be able to keep up.
Whether you eat it all, or are wheat-, yeast- or gluten-free – there is a dough for you!
I enjoy baking with dough even when I may not be able to eat it myself, and that’s when family members become my tasters! So let’s get rolling!

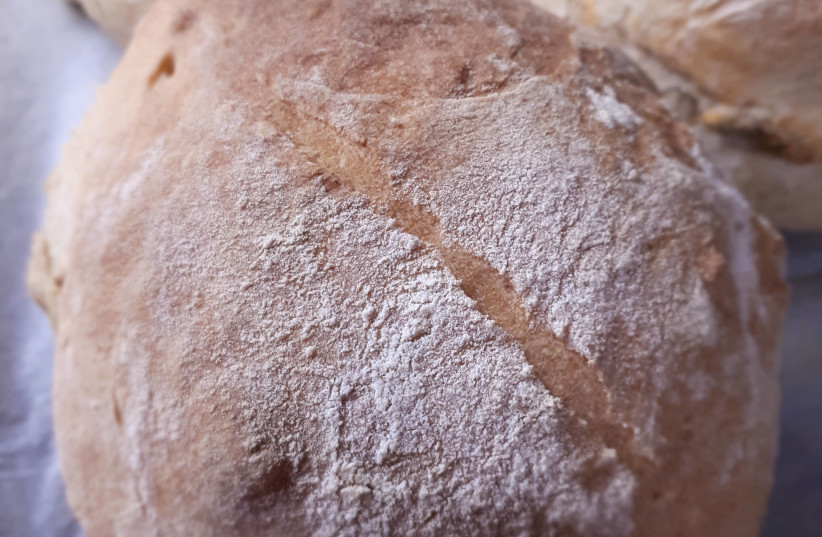
BASIC BREAD
Seriously, bread is super simple to make.
After becoming a mom almost eight years ago (wow – how time flies), a fellow “mommy and me” friend shared this recipe after I mentioned my desire to make a simple bread to add to meals. There are four ingredients. It doesn’t take all day or require fancy equipment. This basic bread dough can be prepared even two hours prior to your meal. It goes great with dips as a dinner starter, with cheeses for an elaborate breakfast, and as a sandwich with spreads for lunches on the go!
Notice in the ingredients below how simple it is to remember the measurements, or even half or double the recipe if you wish. Each following ingredient is cut by half of the measurement of the previous one. Example: 4 cups flour = 2 cups water = 1 tsp. yeast = ½ tsp salt.
Yields 2 medium-sized loaves.
- 4 cups sifted flour – I use 80% whole wheat
- 2 cups warm water
- 1 tsp. active dry yeast
- ½ tsp. salt
In a mixing bowl pour in the salt, then the flour. Make a small indent in the center of the flour and add the yeast, then the warm water.
Using any spoon, mix the ingredients together. You will need to get your hands in there at some point to knead it well.
This dough is looser than challah dough, so it will feel a bit sticky.
Once the dough is properly mixed (separating dough is without a blessing for this amount; for more information contact your local rabbi), cover the bowl with a towel or plastic bag and let it rise for about 45 minutes to an hour.
Preheat the oven to 200C (400F) and line a baking sheet with baking paper.
Spread some flour on your counter as well as your hands, and divide the dough in half. This dough is meant for simple bread shapes and not fancy braiding or twists. Gently roll out each piece of dough into a round ball or a wide log, and place them about 3-4 inches apart on the baking sheet. Let the breads sit for 10-15 minutes and then place them in the oven on the middle rack. Bake for 10 minutes, then reduce the temperature to 180C (350F) for another 10-15 minutes.
Remove from the oven and let cool for a few minutes before slicing into it.

SPELT PIZZA OR FOCACCIA DOUGH
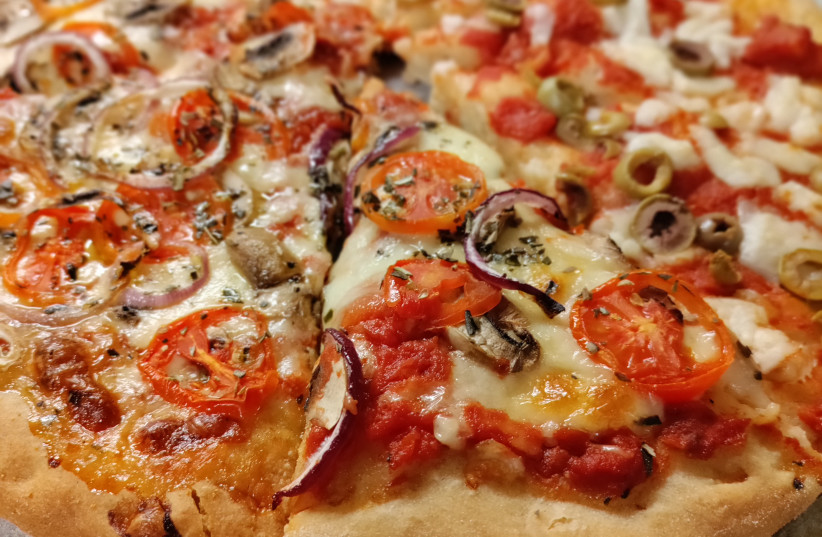
I love making this recipe for my family every other week so they can make their own pizzas for dinner. Preparing the dough takes three minutes and few ingredients. I like using spelt flour, as it’s easier on our stomachs and gives a rich flavor. You can pile on whatever toppings you like for your own personal pizza night! I am one of those unusual people who does not like pizza (gasp! I know!), so I just make the dough and sprinkle on some fresh herbs to have it as a focaccia with some spreads. Have fun with it and get creative!
Yields 2 personal pizza doughs, 12” in diameter.
- 1 tsp. salt
- 4 cups of spelt flour
- 2 tsp. active dry yeast
- 1 tsp. sugar
- ¼ cup olive oil
- 1½ cups water
In a large mixing bowl add the ingredients in the order above. You can mix it together with a large spoon or use a mixer with the dough hook attachment. I find using a spoon and my hands to be the best method and least cleanup. If you feel the dough is too dry, slowly add in some water; if it’s too sticky, slowly add in more flour.
Cover the dough with a towel or plastic bag (again, speak to your local rabbi regarding separating the dough), and let it rise for at least an hour.
Preheat your oven to 200C (400F). Get out your tomato sauce and mozzarella cheese, and prepare your toppings of choice. Place a baking paper on your counter workspace and sprinkle it with flour, and do the same to your rolling pin! (If you don’t have a rolling pin you can use a wine bottle, preferably an empty one.)
Divide the dough into 2 pieces for 2 large pizzas, or 3 pieces for smaller personal pizzas and or focaccias. Form the dough into a ball and then place it on your baking paper, use the rolling pin to flatten it evenly into a circle. The dough should be no more than 2 cm. in thickness. This may take a few attempts if you’re new to this, so be patient and loving and I promise you that your pizza will taste great regardless of how evenly circular your dough is.
Carefully lift up the baking paper by the corners and place it on a flat baking tray. Spread the tomato sauce, sprinkle the cheese, and top with your favorite toppings.
Place it in the oven and let it bake for 10-12 minutes, or until it’s baked to your liking.
For Focaccia Bread, roll it out the same way you rolled out the pizza dough, using your fingers to make small round indentations into the dough. Drizzle about 2 Tbsp. of olive oil on the focaccia and add some minced garlic, rosemary, basil, parsley and about 1 tsp. of kosher salt. Bake at 200C (400F) for about 6-8 minutes. Serve with your favorite dips!
TIP: You can also prepare this dough the night before and let it rise in a plastic bag in your fridge overnight (make sure you knot the bag). An hour before baking, remove from fridge, punch down the dough, place in a bowl, cover and let rise again till it is room temperature.

GLUTEN-FREE BAGELS
I’m always researching different options for breads that are gluten-free or low in carbohydrates. In my search, I came across a recipe shortly before Passover. I finally got to try the recipe last week and I am super happy with the results!
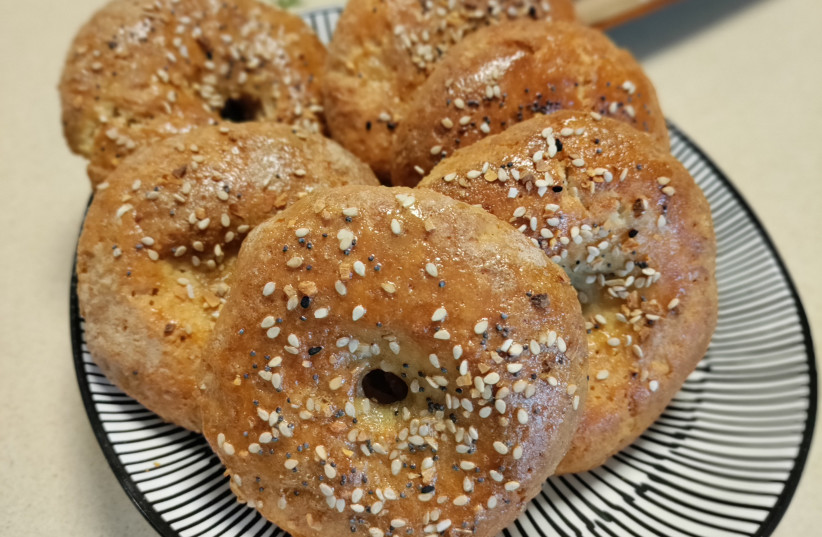
These actually taste and have a similar texture to regular bagels! I couldn’t believe it, and to quote my husband, “Wow! These are surprisingly good and they have a great texture!” They are crunchy on the outside and chewy on the inside and taste great with your favorite spread!
“Wow! These are surprisingly good and they have a great texture!”
Henny Shor's husband
Yields 6 bagels.
- 3 cups finely ground almond flour
- 1 1/4 cup gluten-free flour mix or tapioca flour
- 1 tsp. baking powder
- 1 tsp. salt
- 1 Tbsp. apple cider or white vinegar
- 1 Tbsp. honey or maple syrup
- 3/4 cup warm water
For boiling:
- Wide pot filled halfway with water
- 1 Tbsp. brown sugar
- 2 Tbsp. baking soda
- For the topping:
- 1 egg beaten or ¼ cup of oil for vegan option
- Onion flakes/poppy seeds/ sesame seeds/kosher salt
Preheat the oven to 180C (350F), and fill your stockpot with water about half way. Place it on the stove, add in the brown sugar and baking soda, and keep the pot covered until it comes to a boil.
While your oven is heating and your water comes to a boil, mix your bagel ingredients in a mixing bowl using a rubber spatula.
If the batter is too sticky, slowly add a bit more flour, but you don’t want it to be too dry.
Line a baking pan with baking/parchment paper. Divide the batter evenly into 6 and roll them into balls. You may need to wet your hands with water to shape them.
Take the ball of dough and slightly flatten it down just a bit so it is more disk-like, make a hole in the center with your finger. Use a slotted spoon to place the bagels in the boiling water, no more than 3 at a time. Once the bagel floats to the top, let it boil for another 2 minutes, then remove the bagel with the slotted spoon and place it on the baking sheet, brush with egg/oil and sprinkle on toppings.
Bake the bagels for 20-25 minutes till browned on top. Let them cool for a bit, and get your spreads ready!
To keep them fresh for a future date, freeze them in an airtight bag/container.
Bake the bagels for 10 minutes, then remove them to egg/oil wash and add toppings. Return them to the oven for another 15-20 minutes.
Let them cool for a bit, and get your spreads ready!

SPELT NO-YEAST RUGELACH DOUGH
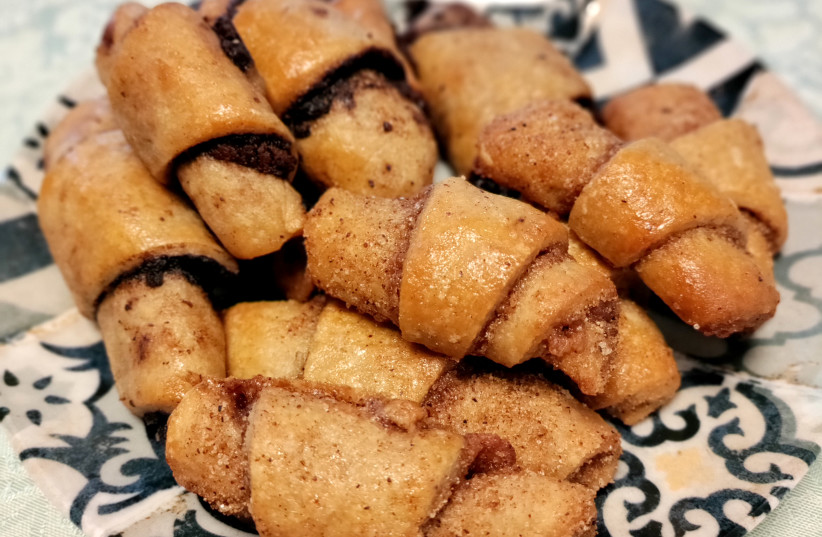
Everyone loves rugelach, either chocolate or cinnamon, and I often make a double batch to keep some in the freezer for a last-minute addition to our Shabbat desserts. But when I get really busy (and the craving for rugelach is impatient), I don’t want to wait for the dough to rise. When I heard about this recipe I got so excited! Besides not having yeast, it is also vegan and a super simple dough to make in a pot! Within the hour I was sipping my afternoon coffee and enjoying soft chocolate and cinnamon decadent rugelach!
Yields 4 dozen rugelach.
The dough:
- 1 cup water
- 1 cup oil
- 2 tsp. vanilla extract
- 4 Tbsp. sugar
- 4 cups spelt flour
- 2 tsp. baking powder
- 1 egg for egg wash (optional)
Chocolate filling:
- 1½ cups powdered sugar
- ½ cup sugar
- ¾ cup baking cocoa powder
- 2 Tbsp. oil to sprinkle on dough
Cinnamon filling:
- 1½ cups powdered sugar
- ½ cup brown sugar
- 3 Tbsp. ground cinnamon
- 2 Tbsp. oil to sprinkle on dough
In a medium-sized pot, heat the water and oil and bring to a boil, then shut off the flame.
Add the sugar to the pot and mix, then add the spelt flour and baking powder. Stir with a spoon mixing very well until a dough forms.
Set the pot aside for a few minutes to let it cool.
Preheat your oven to 180C (350F) and line your baking tray with baking paper.
In a small mixing bowl, mix together the dry ingredients to make the filling of your choice.
Divide the dough into 4 equal parts and roll them into balls. Place one ball of dough onto a floured surface and roll it into a circle (like you did for the pizza).
Pour 1 Tbsp. of oil on the dough and spread it evenly using an egg brush.
Take a half cup of the filling mixture and sprinkle that over the dough; use a knife to cut 12 triangles (pizza pie style). Roll each triangle beginning from the wide end toward the tip and place it on the baking sheet. Repeat until your baking sheet is full.
If desired, brush the rugelach with egg, or use oil to keep these rugelach vegan.
Bake for 20-25 minutes, let cool (if you can) and get your coffee or tea ready!
The writer is a kitchen coach, inspiring confidence and creativity in the kitchen. Learn about her workshops, events and one-on-one coaching: www.inthekitchenwithhenny.com
